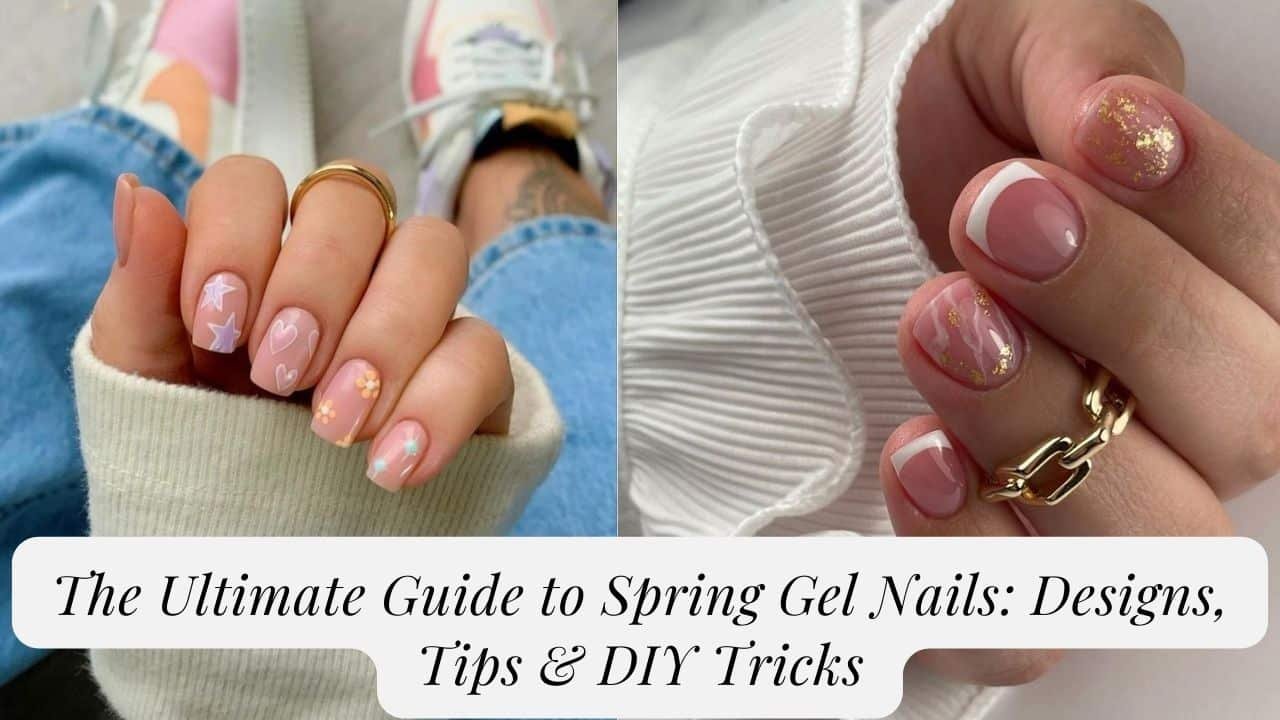
Introduction
Spring stirs the world with an eruption of variety and life. Blossoms sprout, birds sing, and a feeling of recharging consumes the space. In this post we will explain spring gel nails in details.
This energetic season isn’t simply a visual blowout for the eyes, it’s a wellspring of motivation for the universe of nail craftsmanship!
Gel nails have turned into a famous decision for some reasons. Not at all like customary shines, gel offers enduring wear, chip-safe flawlessness, and a high-sparkle finish that goes on for quite a long time.
This toughness makes gel shines ideal for displaying the multifaceted plans and lively tones that catch the substance of spring.
This blog entry is your definitive manual for spring gel nails. Whether you’re a carefully prepared nail workmanship devotee or a beginner hoping to embrace the season with wonderful fingertips, we take care of you.
We’ll dive into the most recent patterns, rouse you with staggering plans, and even give tips to making your own spring nail craftsmanship show-stoppers at home.
In this way, in the event that you love the sensation of spring and believe your nails should mirror its cheerful energy, continue to peruse!
Spring Nail Art Inspiration
Floral Fantasy
Spring wouldn’t be finished without the energetic magnificence of blossoms. Furthermore, what better method for catching that embodiment than with shocking botanical nail craftsmanship?
This segment jumps profound into the universe of botanical gel nail plans, from ageless works of art to stylish blended florals.
We’ll furnish bit by bit guidelines with visuals for well known plans, investigate variety blends that rejuvenate blossoms, and present procedures like stepping and water marbling to add interesting impacts.
Classic Flowers: Timeless Elegance
Roses: The quintessential symbol of love, roses translate beautifully onto nails.
- Color Combinations: Classic red and pink for romance, or bold purples and blacks for a dramatic twist.
- Step-by-Step:
- Paint a base coat in an impartial shade like naked or light pink.
- Utilizing a flimsy nail craftsmanship brush, dunk it in red gel clean and make little tear shapes for flower petals, working from the middle outwards.
- Add a little green speck at the foundation of every petal for the stem.
- Rehash with other rose tones for a blended bouquet effect.
- Apply a top coat for a reflexive completion.
Daisies: These cheerful flowers symbolize innocence and purity.
- Color Combinations: White and yellow for a classic look, or pastel pinks and blues for a whimsical touch.
- Step-by-Step:
- Paint a base coat in a light pastel tone.
- Utilizing a dabbing device, make a little yellow speck in the focal point of the nail.
- Dunk a dainty brush in white gel clean and make little, adjusted strokes around the yellow speck to make the daisy petals.
- Add a minuscule green line for the stem.
- Apply a top coat to seal the plan.
Blooming Patterns: A Burst of Color
Floral Gradient: This technique creates a beautiful blend of colors mimicking a blooming flower.
- Color Combinations: Use a gradient of pinks and oranges for a sunrise bloom, or purples and blues for a twilight effect.
- Technique: Water marbling is ideal for this design.
- Fill a shallow dish with water and add drops of your picked gel clean tones, permitting them to somewhat spread.
- Utilize a toothpick to tenderly whirl the varieties to make a marbled example.
- Cautiously dunk your nail into the water, guaranteeing the clean exchanges.
- When dry, apply a top coat for a smooth completion.
Floral Vines: Delicate vines with blooming flowers add a touch of elegance.
- Color Combinations: Black or brown for the vines paired with soft pinks, purples, or blues for the flowers.
- Step-by-Step:
- Paint a base coat in an unbiased shade.
- Utilizing a dainty brush dunked in dark gel clean, make meager, twisting lines across the nail, shaping a plant like example.
- Add little blossoms utilizing spotting apparatuses and different gel clean tones.
- Apply a top coat to finish the plan.
Mixed Florals: A Symphony of Colors
Wildflower Bouquet: Capture the essence of a spring meadow with a mix of different flowers.
- Color Combinations: A riot of vibrant colors! Experiment with pinks, purples, oranges, yellows, and blues.
- Technique: Stamping allows for easy creation of various flowers.
- Apply a base coat in a light tone.
- Pick a stepping plate with various bloom plans and an organizing stepping shine.
- Apply stepping shine to the ideal blossom plan on the plate.
- Utilize a stepping scrubber to eliminate overabundance clean.
- Tenderly stamp the plan onto your nail.
- Rehash with various varieties and bloom plans to make a wildflower impact.
- Apply a top coat to seal the plan.
Confetti Flowers: A playful take on floral nail art, perfect for a vibrant personality.
- Color Combinations: Any combination you love! Pastel confetti for a softer look, or bright neons for a bold statement.
- Step-by-Step:
- Paint a base coat in an impartial shade.
- Utilize a dabbing device with different gel clean tones to make little confetti spots all around the nail.
- Add little bloom subtleties inside
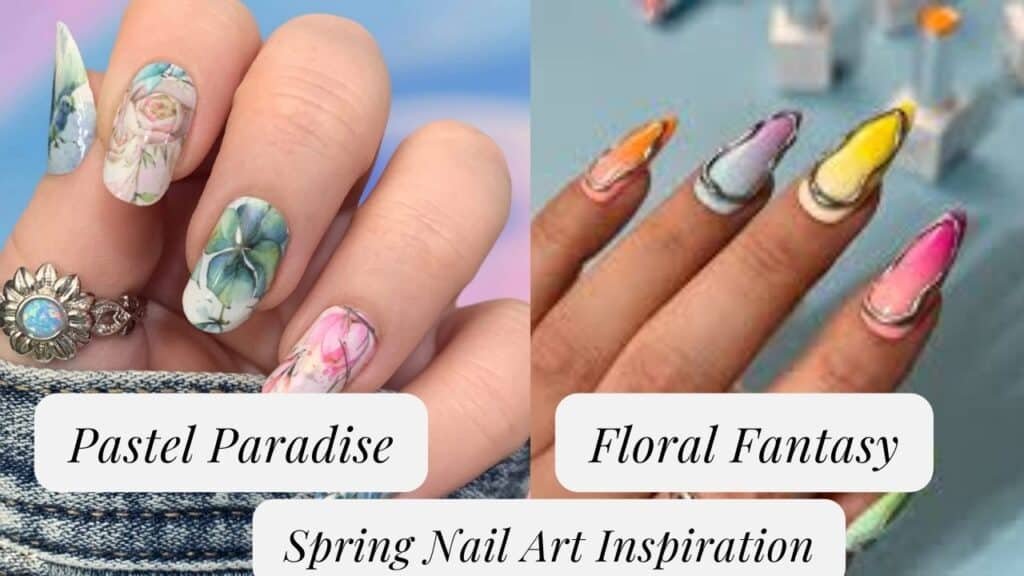
Pastel Paradise
Pastel gel shines are a springtime staple, offering a range of delicate, ethereal tones that catch the quintessence of the sprouting season. Their class lies in a fragile harmony between eye-getting variety and unobtrusive refinement.
Yet, don’t be tricked by their pleasantness – pastels gloat extraordinary flexibility, considering an extensive variety of staggering nail craftsmanship plans.
We should dig into the universe of pastel gel nails and investigate some in vogue plan thoughts en route!
Ombre Dreams
Ombre, the art of blending colors seamlessly, takes on a whole new life with pastel polishes. Here’s how to create a mesmerizing pastel ombre look:
- Materials: Base coat, top coat, a few pastel gel shines in comparable variety tones (e.g., lavender, child pink, mint green), cosmetics wipe
- Instructions:
- Apply a meager layer of base coat and fix under the UV light as indicated by the maker’s guidelines.
- Once more, paint every one of your nails with the lightest pastel shade and fix.
- Apply a little bit of every pastel shade in a line across a cosmetics wipe. Spot the wipe softly to somewhat mix the varieties.
- With a delicate touching movement, move the mixed variety from the wipe onto the tips of your nails, making an inclination impact. Center the more obscure shades towards the tips.
- Apply extra covers, mixing with the wipe, until you accomplish the ideal force.
- Wrap up with a layer of top coat and solution for a last reflexive completion.
Color Blocking for a Pop
Pastel color blocking injects a playful yet chic twist into your spring manicure.
- Materials: Base coat, top coat, two or three contrasting pastel gel polishes
- Instructions:
- Apply base coat and fix to the surprise of no one.
- Pick a few reciprocal pastel shades (e.g., pastel yellow, child blue, lilac).
- Paint each nail with an alternate pastel tone, making spotless, characterized blocks of variety.
- Guarantee each part is totally murky prior to applying the top coat.
- Get done with a polished top coat for a perfect look.
Negative Space with a Pastel Touch
Negative space nail art is all about embracing the natural beauty of your nails. With pastels, it creates a minimalist yet trendy look.
- Materials: Base coat, top coat, pastel gel polish in your favorite shade, nail art striping tape (optional)
- Instructions:
- Apply base coat and fix to no one’s surprise.
- To make a perfect negative space line, apply striping tape in your ideal plan (e.g., bow moon at the base, half-moon tip, mathematical lines) or freehand the lines with a little nail craftsmanship brush.
- Apply the picked pastel shade to the leftover uncovered nail region, guaranteeing full inclusion.
- Cautiously eliminate the striping tape (whenever utilized) prior to restoring the clean.
- Apply a top coat and remedy for a faultless completion.
French Manicure with a Spring Twist
The French manicure has transcended trends for decades, holding a special place in the hearts (and on the fingertips) of many. Its enduring appeal lies in its:
- Classic Elegance: The combination of a sheer pink or nude base with crisp white tips exudes a timeless sophistication. It complements any outfit and never goes out of style.
- Versatility: The French manicure acts as a blank canvas, easily adaptable to different occasions. You can keep it simple for work or add a touch of personality for a night out.
- Low-Maintenance Beauty: Compared to more elaborate nail art designs, the French manicure requires minimal upkeep. The clean lines and nude base help disguise minor chips, making it a practical choice.
Now, let’s embrace the spirit of spring with some delightful variations on this classic!
Spring French Manicures: A Breath of Fresh Air
Spring is all about new beginnings and vibrant colors. Here’s how to incorporate that playful spirit into your French manicure:
- Pastel Tips: Trench the customary white tips and embrace the delicate tones of spring. Select pastel pinks, lavenders, or blue eyes for a delicate and capricious touch.
- Sparkle Inflections: Add a dash of shimmer for a more happy look. Utilize a slight line of silver or gold sparkle along the white tips, or make an unobtrusive inclination with a sparkle clean mixed into the naked base.
- Floral Delights: Consolidate sensitive flower plans onto your French tips. Use stepping methods with small bloom stencils or make freehand plans with dainty nail workmanship brushes. For a bolder assertion, have a solitary emphasize nail highlighting a more intricate botanical plan.
DIY Flawless French Manicure with Gel Polish
Here’s how to achieve a salon-quality French manicure with gel polish at home:
What you’ll need:
- UV lamp
- Gel base coat
- Sheer pink or nude gel polish
- White gel polish
- Thin nail art brush
- Gel top coat
- Acetone wipes
- Cotton swabs
Instructions:
- Prep your nails: Tenderly resistance your fingernail skin and buff your nails for a smooth surface. Purify your nails with CH3)2CO wipes to eliminate any oils.
- Apply base coat: Apply a slim layer of gel base coat and fix it under the UV light for the suggested time (generally 30-60 seconds).
- Naked or pink base: Apply two slim layers of your picked transparent pink or bare gel clean, permitting each coat to totally fix.
- French tips: Here comes the tomfoolery part! Utilizing the white gel clean and a dainty nail craftsmanship brush, cautiously paint a slight white line along the free edge of your nail. Go for the gold thickness and a slight bend following the normal state of your nail tip.
- Refine the whites: Once relieved, survey the white tips. Apply extra layers of white gel clean if necessary to accomplish a perfect and misty look. Fix each coat after application.
- Finish it off: Apply a liberal layer of gel top coat to seal your nail trim and add sparkle. Fix it under the UV light for the suggested time.
- Tidy Up: Once completely restored, utilize a q-tip plunged in CH3)2CO to eliminate any smears or defects around your nails tenderly.

Springtime Animals and Nature
Spring brings an energetic explosion of life, and what preferred method for celebrating over with perky nail craftsmanship highlighting everything spring-themed?
How about we investigate a few lovable plans integrating creatures like butterflies and ladybugs, or normal components like rainbows and daylight.
We’ll give instructional exercises to fluctuating trouble levels, empowering you to customize these thoughts and release your imagination!
A. Butterfly Bliss
Difficulty Level:
- Paint your nails a delicate pastel base tone (light pink, lavender, or child blue).
- Utilizing a slender nail craftsmanship brush and white clean, make basic butterfly wings on a couple of complement nails.
- Add specks for the body and recieving wires with dark clean.
- For a dash of shimmer, utilize a spotting device to add minuscule gold or silver specks.
Difficulty Level:
- Utilize a stepping plate with butterfly plans for a more point by point look.
- Pick a differentiating shine tone for the butterfly picture (e.g., dark butterfly on a light pink base).
- Apply a stepping shine to the plan, scratch off overabundance, and cautiously compress the stamp onto your pre-arranged nail.
- Wrap up with an unmistakable top coat.
Difficulty Level:
- Embrace the 3D impact! Use acrylic paints or gel chiseling strategies to make reasonable butterfly wings with raised subtleties.
- Try different things with various surfaces and tones for a genuinely special look.
- Make sure to fix gel embellishments under an UV light appropriately.
B. Ladybug Love
Difficulty Level:
- Paint your nails a brilliant cherry red.
- Utilizing a white spotting device, make two huge dabs for the ladybug’s body on a couple of highlight nails.
- Add more modest dark specks on the red for the ladybug’s spots.
- Draw minuscule radio wires with a dainty dark nail workmanship brush.
Difficulty Level:
- Decide on a French nail trim with a contort! Paint a white tip on your nails and afterward make a little dark ladybug head and spots on the white tip.
- You might include a minuscule white spot the clogged pore for the eye.
Difficulty Level:
- Play with negative space! Paint a portion of the nail dark and leave the other half uncovered.
- On the uncovered half, make a fragile white ladybug body with dark spots and radio wires.
- This procedure makes a cutting edge and moderate ladybug plan.
C. Rainbow Radiance
- Difficulty Level:
- Paint your nails a crisp white base.
- Using thin nail art brushes, draw small curved lines across your nails in various pastel colors to create a rainbow effect.
- Don’t worry about perfect lines, a whimsical approach adds to the charm!
- Difficulty Level:
- Embrace the ombre effect! Apply different pastel polishes to a makeup sponge and gently dab it onto your nails, creating a gradual blend of colors.
- Finish with a clear top coat for a smooth finish.
- Difficulty Level:
- Channel your inner artist! Use a thin nail art brush and different neon polishes to create intricate rainbow designs.
- You can experiment with geometric patterns or swirling rainbows for a unique look.
D. Sunshine Smiles:
- Difficulty Level:
- Paint your nails a dazzling yellow base.
- Utilize a slight nail workmanship brush and dark clean to make basic sun beams exuding from a focal dab (the sun).
- Add a small smiley face in the middle for additional cheer.
- Difficulty Level:
- Make a slope French nail treatment with a wind! Rather than white, utilize a slope of yellow and orange shines for the tips, mirroring the sun’s beams.
- Get done with a little dark dab in the middle for the sun.
- Difficulty Level:
- Accomplish a 3D impact! Use acrylic paints or gel chiseling procedures to make a raised sun with finished beams.
- Consider adding an unpretentious sparkle complement for an additional bit of shimmer.
DIY Spring Gel Nails at Home
A. Essential Gel Nail Kit:
- List: UV light, base coat, gel clean tones, top coat, nail record, fingernail skin pusher, liquor wipes, cotton balls.
- Reason: Light fixes clean, base and top coat safeguard nails, record shapes nails, pusher prepares fingernail skin, cleans off nails, cotton eliminates botches.
- Beginner Kits: Notice well known choices accessible for procurement.
B. DIY Spring Gel Nails Step-by-Step:
- Prep: Document nails, push back fingernail skin, wipe nails with liquor.
- Apply base coat: Slim layer, fix under light (notice time).
- Apply gel clean: Slim coats, each relieved under light. (notice number of coats)
- Apply top coat: One coat, fix under light (notice time).
- Clean Up: Use cotton swab with CH3)2CO to eliminate clean errors.
C. Spring Nail Art Techniques for Beginners:
- Dotting: Use dabbing instrument or toothpick for polka spots, blossoms.
- Striping: Use striping tape or slight nail workmanship brush for lines, stripes.
- Stamping: Use nail workmanship stamper and stepping plate for definite plans.
- Incorporate visuals and investigating tips for every strategy.
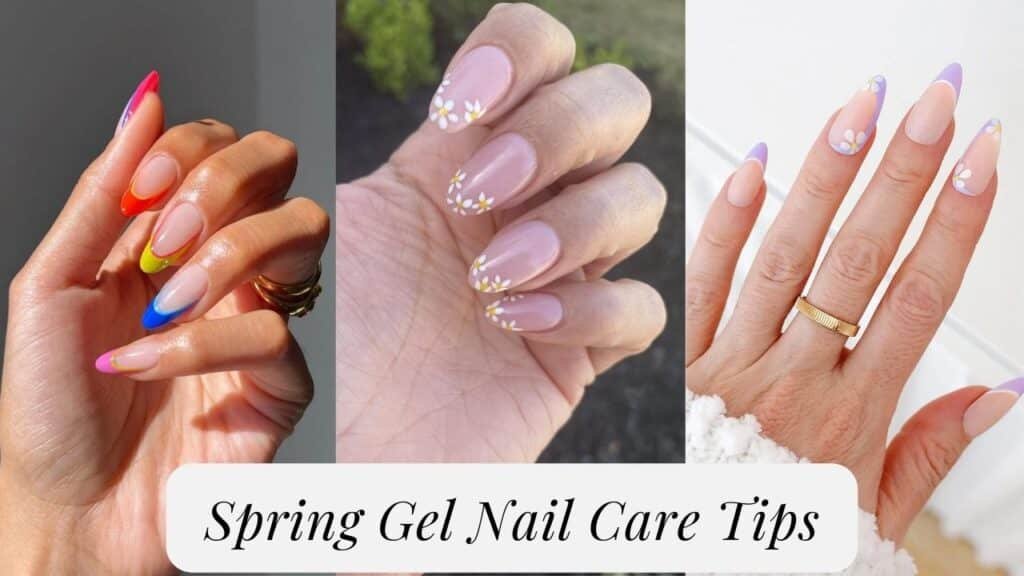
Spring Gel Nail Care Tips
A. Maintaining the Magic:
- Do: Wear gloves for errands and cleaning.
- Try not to: Douse nails unnecessarily.
- Limit: Contact with cruel synthetic compounds.
B. Gentle Removal is Key:
Never peel off gel polish! It can damage your natural nails. Here’s how to safely remove it at home:
- File the top coat: Buff the sparkling surface to break the gel’s seal.
- Soak your nails: Immerse cotton balls with unadulterated CH3)2CO and fold them over each nail. Secure with foil.
- Wait and soften: Let the CH3)2CO do something amazing for 10-15 minutes.
- Gently push off gel: The gel clean ought to handily push off with a fingernail skin pusher. Be delicate and abstain from scratching.
- Buff and saturate: Buff away any excess buildup and saturate your nails and fingernail skin.
For stubborn gel or for a gentler touch, consider professional removal by a nail technician.
C. Nourishing Your Nails:
Healthy nails are the foundation for beautiful gel manicures. Here’s how to nourish them:
- Saturate everyday: Apply fingernail skin oil routinely to keep fingernail skin hydrated and forestall hangnails.
- Evening time treatment: Utilize a hand cream with supporting fixings before bed for profound moisturization.
- Reinforce and secure: Think about utilizing a nail strengthener to forestall breakage and advance solid development.
- Enjoy reprieves: Give your nails a breather between gel applications to permit them to normally recuperate.
Conclusion
This thorough aide has taken you on an excursion to embrace the blossoming magnificence of spring with shocking gel nail plans. We investigated the advantages of gel clean, from its dependable wear to the certainty support it gives.
You found a kaleidoscope of spring-propelled nail workmanship, from sensitive florals to energetic creature subjects and invigorating pastel ranges.
Whether you’re attracted to immortal French nail trims with a spring turn or need to release your innovativeness with Do-It-Yourself nail craftsmanship procedures, this post has something for everybody.
Spring gel nails are something other than lovely; they’re a method for celebrating fresh starts and express your exceptional style. With legitimate consideration and expulsion strategies, you can expand the existence of your gel nail trim and keep your nails sound all through the season.
Thus, snatch your #1 spring-shaded shines, release your innovativeness, and let your fingertips sprout with the dynamic energy of spring!