Although gluing glass to wood might be difficult, creating a solid and long-lasting connection with the correct methods and supplies is possible. This tutorial will take you step-by-step through the process of attaching glass to wood. Before we get started, it’s crucial to remember that the glue you use will depend on the particular project and materials you are using. Before starting your project, always read the directions on the glue’s container and perform a small area test.
Now, let’s get started!
Let’s dive into this peculiar topic and uncover the taste, health risks, and even unique uses of glue beyond its intended purpose.
Materials Needed
Before beginning your project, gather the following materials:
- Glass cleaner
- Isopropyl alcohol
- Cotton swabs
- Masking tape
- Silicone adhesive
- Clamps
- Disposable gloves
Cleaning the Surfaces
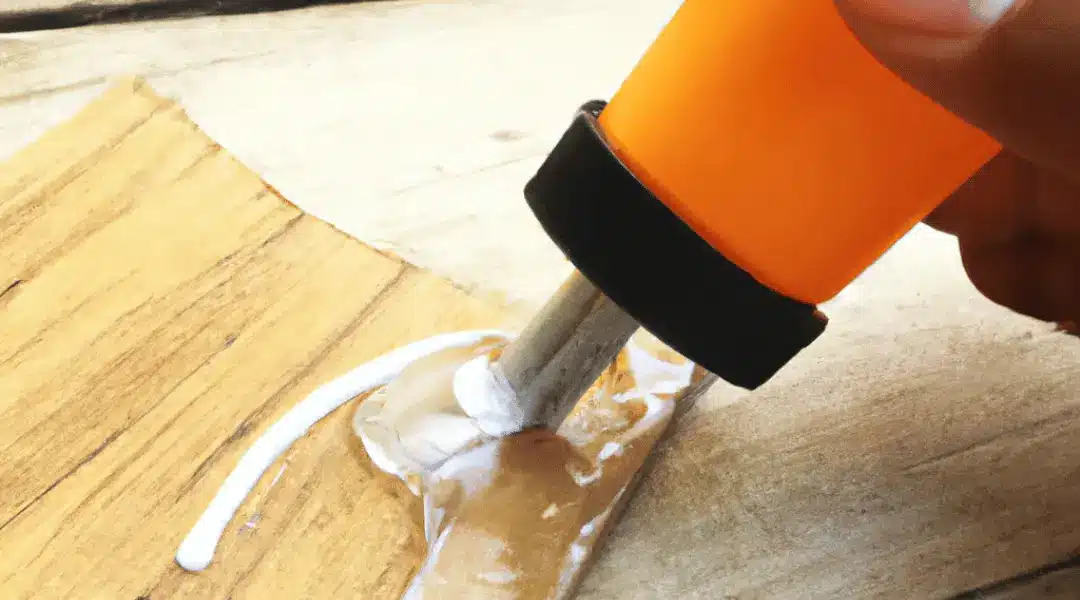
Cleaning the surfaces to be joined together in-depth is the first stage in gluing glass to wood. To start, use a glass cleaner to scrub away any debris or residue from the glass. The wood surface should next be cleaned with isopropyl alcohol and a cotton swab. Before moving on, let the surfaces dry fully.
How To Remove Hair From Carpet
It’s important to note that you should avoid touching the surfaces with your fingers, as oils from your skin can interfere with the bonding process.
Once the surfaces are clean and dry, apply masking tape around the perimeter of the glass to protect it from any excess adhesive.
Choosing the Right Adhesive
The outcome of your project depends on the glue you use. Due to its strong bond and flexibility, silicone glue is a common choice for gluing glass to wood.
Make sure you use an adhesive that is intended exclusively for gluing glass to wood when making your selection. Apply the product as directed, and allow enough time for it to cure.
How Long Does Gorilla Glue Take to Dry
Applying the Adhesive
Using a disposable glove or applicator, apply a tiny amount of silicone glue to the surface of the wood. Make careful to cover the whole area that will come into contact with the glass as you equally distribute the glue throughout the surface.
Make sure the glass is level and centered before carefully placing it on the adhesive. To make sure the glass is in touch with the glue, gently press down on it.
Clamping the Glass
It’s important to clamp the glass to the wood to ensure a strong bond while the adhesive cures. Choose clamps that are appropriate for the size of your project and apply them evenly around the perimeter of the glass.
Does Krazy Glue Work on Metal?
Make sure the clamps are not too tight, as this can cause the glass to crack or break. Check the manufacturer’s instructions for recommended clamping time and make sure to leave the clamps in place for the full duration.
Curing the Adhesive
Allow the adhesive to cure according to the manufacturer’s instructions. This can take anywhere from a few hours to a few days, depending on the type of adhesive and the temperature and humidity conditions.
It’s important to avoid disturbing the project during the curing process, as this can cause the bond to weaken or fail.
Removing the Clamps and Masking Tape
Remove the clamps and masking tape when the adhesive has fully dried. Check the bond closely for any indications of brittleness or separation.
You might need to repeat the operation and reapply the glue if you encounter any problems. Otherwise, your glass-to-wood bond ought to be solid and long-lasting.
Does Gorilla Glue Work on Plastic
Tips and Tricks
Here are a few tips and tricks to help ensure a successful glass-to-wood bond:
- Always wear gloves when working with adhesive to avoid skin irritation.
- Test a small area before beginning your project to ensure the glue is compatible with your materials.
- Work in a well-ventilated area to avoid inhaling fumes from the adhesive.
- Avoid applying too much adhesive, as this can cause the excess to seep out and create a messy finish.
Conclusion
Although gluing glass to wood might be difficult, creating a solid and long-lasting connection with the correct methods and supplies is possible. You may guarantee a project’s success and the creation of a stunning final result by adhering to the instructions provided in this guide.
Always read the manufacturer’s directions before starting a job, and test a tiny area first. A beautiful glass-to-wood connection that will last for many years may be made with a little time and care.

