Gluing sand to wood is a great way to add texture and a rustic look to your woodworking projects. It can also be used to create unique designs or patterns. However, it can be a tricky process if you don’t know what you’re doing. In this guide, we will go over the best techniques of How To Glue Sand to Wood
Let’s dive into this peculiar topic and uncover the taste, health risks, and even unique uses of glue beyond its intended purpose.
Before we begin, it’s important to note that sand can be abrasive and can dull your tools. Make sure to clean your tools after each use and wear protective gear, including a dust mask and safety goggles.
Let’s get started!
Methods to Glue Sand to Wood
Below is the step by step guide to glue sand to wood in complete details
Choosing the Right Sand
When it comes to gluing sand to wood, the type of sand you choose is important. You want to make sure the grain size is consistent and not too large or too small. A medium-grain sand works best for most projects.
You can find sand at your local hardware store or online. Look for sand that is specifically labeled for woodworking or construction. Avoid using beach sand or sand from unknown sources, as it may contain contaminants that can damage your tools.
Before using the sand, make sure to sift it to remove any debris or large particles.
Choosing the Right Glue
The type of glue you use will depend on the type of project you’re working on. For most woodworking projects, a high-quality wood glue will work best. Look for glue that is specifically labeled for use with wood.
If you’re working on a project that will be exposed to water or moisture, consider using a waterproof glue. Epoxy glue is also a good choice for projects that require a strong bond.
Make sure to follow the manufacturer’s instructions for mixing and applying the glue.
Preparing the Wood
Before gluing sand to wood, you need to prepare the surface. Sand the wood with a fine-grit sandpaper to create a smooth surface. Wipe the surface with a clean, dry cloth to remove any dust or debris.
You can also apply a coat of wood conditioner to the surface to help the glue adhere better.
Make sure the wood is completely dry before applying the glue.
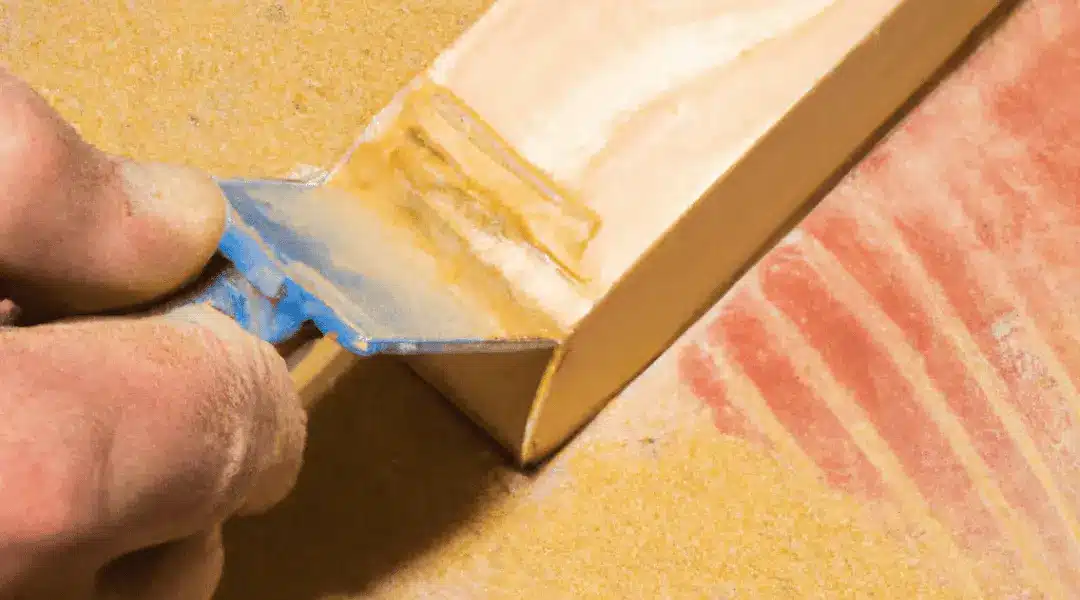
Applying the Glue
Using a small paintbrush or foam brush, apply a thin layer of glue to the surface of the wood. Avoid applying too much glue, as it can cause the sand to become clumpy and uneven.
Work in small sections, applying glue to one area at a time.
Make sure to apply the glue evenly and avoid leaving any gaps or bubbles.
Applying the Sand
Once you’ve applied the glue, sprinkle a thin layer of sand over the surface of the wood. Use your fingers to gently press the sand into the glue.
Work in small sections, applying sand to one area at a time.
Make sure to apply the sand evenly and avoid leaving any gaps or clumps.
Allowing the Glue to Dry
Once you’ve applied the sand, allow the glue to dry completely. This can take anywhere from a few hours to overnight, depending on the type of glue you’re using and the humidity in your workspace.
Do not touch or disturb the surface until the glue is completely dry.
Once the glue is dry, gently shake off any excess sand.
Sanding the Surface
After the glue has dried, use a fine-grit sandpaper to sand the surface of the wood. This will help to smooth out any rough spots or uneven areas.
Be careful not to sand too much, as this can cause the sand to become loose or uneven.
Wipe the surface with a clean, dry cloth to remove any dust or debris.
Sealing the Surface
Once you’ve sanded the surface, you can apply a coat of sealant to protect the sand and the wood. Look for a sealant that is specifically labeled for use with wood.
Apply the sealant with a small paintbrush or foam brush, working in small sections.
Allow the sealant to dry completely before handling the project.
Finishing Touches
After the sealant has dried, you can add any finishing touches to your project. This may include painting or staining the wood, or adding additional layers of sand or texture.
Be creative and experiment with different techniques to achieve the look you want.
Some Precautions for Gluing Sand to Wood
Here are some precautions to keep in mind when gluing sand to wood:
Use proper ventilation:
Always work in a well-ventilated area and wear a mask to avoid inhaling dust particles.
Protect your skin:
Wear gloves to protect your hands from the glue and sand, and avoid getting glue on your skin.
Use safety equipment:
Wear safety goggles to protect your eyes from sand particles.
Be careful with the glue:
Avoid getting glue on your clothes, furniture, or other surfaces, as it can be difficult to remove.
Handle with care:
Once the glue and sand have dried, handle the surface with care to avoid chipping or cracking.
Allow for proper drying time:
Don’t rush the drying process, as this can result in a weaker bond. Allow the glue and sand to dry completely before handling or applying additional layers.
Test in a small area:
Before applying glue and sand to a large area, test it on a small, inconspicuous area of the wood to ensure that the adhesive works well and the sand adheres properly.
Conclusion
Gluing sand to wood can be a fun and rewarding way to add texture and character to your woodworking projects. By following these simple steps, you can achieve a beautiful and unique look that will impress your friends and family.
Remember to choose the right sand and glue for your project, prepare the wood properly, and work in small sections. With a little practice and patience, you can master the art of gluing sand to wood.