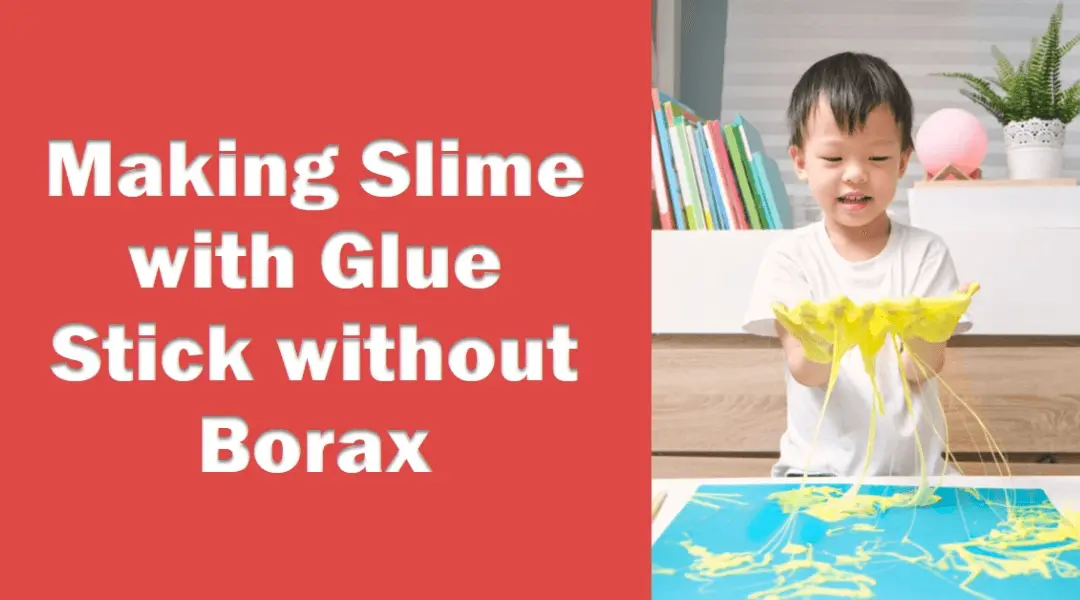
Slime-making has taken the world by storm, captivating both kids and adults with its squishy, stretchy, and colorful textures. However, due to potential risks associated with the use of borax in slime recipes, making slime with glue stick without borax has become a popular alternative.
But fret not! We have gathered the ultimate guide to help you make slime with glue stick without borax. Get ready for a safe and exciting slime-making adventure!
Let’s dive into this peculiar topic and uncover the taste, health risks, and even unique uses of glue beyond its intended purpose.
Understanding Borax and Its Risks
Borax, a common ingredient in many slime recipes, is a chemical compound used as a cleaning agent. However, it poses potential risks, especially when it comes to children’s safety. Some individuals may experience skin irritation or allergic reactions when exposed to borax. To ensure a worry-free slime-making experience, it’s essential to explore alternative ingredients.
Choosing the Right Glue Stick
Before we dive into the exciting world of borax-free slime, let’s talk about the glue stick, the foundation of your slime creation. There are various types of glue sticks available in the market, such as washable, clear, or glitter glue sticks. Look for glue sticks that are non-toxic and child-friendly, ensuring they are safe to use for your slime-making adventures.
Making Slime with Glue Stick without Borax
A. Classic Glue and Liquid Starch Slime
Let’s start with a classic and foolproof slime recipe using glue stick and liquid starch. This recipe guarantees a stretchy and satisfying slime experience. Here’s how to make it:
How to Make Classic Glue and Liquid Starch Slime
- Gather your ingredients:
- Glue stick (clear or white)
- Liquid starch
- Food coloring (optional)
- Mixing bowl and spoon
- Pour the glue stick into the mixing bowl: Use either clear or white glue stick based on your preference.
- Add a few drops of food coloring: If you want a vibrant slime color, add a few drops of food coloring to the glue.
- Slowly pour in the liquid starch: While continuously stirring, gradually add the liquid starch to the glue mixture.
- Keep adding until the slime forms: Pour in the liquid starch until the slime starts to form and pull away from the bowl.
- Knead the slime: Use your hands to knead and stretch the slime until it reaches the desired consistency.
- Enjoy the sensory experience: Stretch it, squish it, and have fun exploring the classic glue and liquid starch slime.
B. Fluffy Slime with Shaving Cream
Looking for a slime with an extra touch of fluffiness? Try the fluffy slime recipe using glue stick and shaving cream. It’s sure to delight your senses with its soft and airy texture. Here’s how to make it:
How to Make Fluffy Slime with Glue Stick
- Gather your ingredients:
- Glue stick (clear or white)
- Shaving cream
- Contact lens solution
- Food coloring (optional)
- Mixing bowl and spoon
- Squeeze out the desired amount of glue stick into the mixing bowl.
- Add a few drops of food coloring for a pop of color.
- Add a generous amount of shaving cream to the bowl.
- The more shaving cream you add, the fluffier your slime will be.
- Mix the glue stick and shaving cream together until well-combined.
- Gradually add the contact lens solution while stirring.
- Keep adding until the slime starts to come together and becomes less sticky.
- Knead the slime with your hands until it reaches the desired fluffiness and texture.
- Get ready to experience the soft and fluffy goodness of your homemade slime!
C. Contact Lens Solution Slime
Another borax-free alternative for making slime is using contact lens solution. It’s readily available and safe for kids to handle. Follow these steps to create slime using glue stick and contact lens solution:
- Gather your ingredients:
- Glue stick (clear or white)
- Contact lens solution (containing boric acid and sodium borate)
- Baking soda
- Food coloring (optional)
- Mixing bowl and spoon
- Squeeze the glue stick into the mixing bowl: Choose either clear or white glue stick based on your preference.
- Add a few drops of food coloring: If you want a vibrant slime color, add a few drops of food coloring to the glue.
- Sprinkle baking soda into the bowl: Add a small amount of baking soda to the glue and mix it thoroughly.
- Gradually pour in the contact lens solution: While stirring continuously, pour in the contact lens solution until the slime starts to come together and becomes less sticky.
- Continue mixing and kneading: Keep mixing and kneading the slime until it reaches the desired consistency. If it’s too sticky, add a few more drops of contact lens solution and knead again.
- Get ready to play with your homemade slime: Enjoy the fun and satisfaction of playing with your homemade slime, created without the use of borax.
D. Cornstarch and Glue Slime
For a unique slime texture that’s both stretchy and moldable, let’s try the cornstarch and glue slime recipe. Here’s how to make it:
Cornstarch and Glue Slime Recipe
- Gather your ingredients:
- Glue stick (clear or white)
- Cornstarch
- Water
- Food coloring (optional)
- Mixing bowl and spoon
- Squeeze the glue stick into the mixing bowl. Add a few drops of food coloring for a fun and vibrant slime color.
- Gradually add cornstarch to the bowl while stirring continuously. Keep adding until the mixture thickens and starts to resemble slime.
- Adjust the consistency as needed:
- If the mixture becomes too thick, add a little water to loosen it up.
- If it’s too sticky, add more cornstarch and continue mixing.
- Knead the slime with your hands until it reaches a smooth and moldable consistency.
- Enjoy the stretchy and moldable nature of your cornstarch and glue slime creation!
By following these steps, you’ll be able to create a unique slime with a fantastic texture that’s both stretchy and moldable. Get ready to have some sensory fun with your homemade cornstarch and glue slime!
E. Edible Slime with Glue Stick
Safety is paramount, especially when it comes to kids playing with slime. Why not try making edible slime using glue stick and food-grade ingredients? Here’s a recipe that’s safe to play with and even taste:
Making Edible Slime with Glue Stick and Marshmallows
- Gather your ingredients:
- Glue stick (clear or white)
- Marshmallows (miniature or regular-sized)
- Cornstarch or powdered sugar (for dusting)
- Food coloring (optional)
- Mixing bowl and spoon
- Microwave the marshmallows: In a microwave-safe bowl, heat the marshmallows for about 30 seconds or until they melt.
- Mix in the glue stick: While the marshmallows are warm, add the glue stick to the bowl and mix them together.
- Add food coloring: If desired, add a few drops of food coloring to achieve your preferred slime color. Mix it well with the marshmallow and glue mixture.
- Gradually incorporate cornstarch or powdered sugar: Start adding cornstarch or powdered sugar to the mixture while stirring continuously. Keep adding until the slime starts to come together and becomes less sticky.
- Transfer to a dusted surface: Dust a clean surface with cornstarch or powdered sugar to prevent sticking. Transfer the slime onto the dusted surface.
- Knead until smooth: Begin kneading the slime on the dusted surface. Continue kneading until it reaches a smooth and pliable consistency.
- Enjoy your edible slime: Now you have a fun and safe slime that’s even edible! Play with it, stretch it, and enjoy the unique sensory experience of your homemade edible slime.
By following these steps, you can create a delightful and edible slime using simple ingredients. Remember to have fun and exercise caution when playing with and consuming the slime.
F. Alternative Slime Recipes without Glue Stick
| Slime Recipe | Main Ingredients |
|---|---|
| 1. Liquid Starch | Liquid starch, water, food coloring (optional) |
| 2. Cornstarch Slime | Cornstarch, water, food coloring (optional) |
| 3. Shampoo Slime | Shampoo, salt, water, food coloring (optional) |
| 4. Fiber Slime | Psyllium husk powder, water, food coloring (optional) |
| 5. Yogurt Slime | Yogurt, cornstarch, food coloring (optional) |
These alternative slime recipes provide exciting options for those who prefer not to use glue stick. Experiment with them to discover unique textures and enjoy the slime-making process!
If you or your child has a glue allergy or prefer glue-free slime recipes, fret not! There are alternative options available. Check out our separate article [link or reference to the article] for a variety of glue-free slime recipes using ingredients like liquid starch, cornstarch, or even soap!
Tips and Tricks for Successful Slime-Making
To ensure a successful and enjoyable slime-making experience, here are some tips and tricks to keep in mind:
- Start with small amounts: Begin with small quantities of ingredients to have better control over the slime’s consistency and avoid wastage.
- Mix ingredients thoroughly: Ensure all the ingredients are well combined for a smooth and cohesive slime texture.
- Add ingredients gradually: Add liquid ingredients slowly to achieve the desired slime consistency without making it too sticky or runny.
- Experiment with colors and add-ins: Get creative by adding food coloring for vibrant hues or incorporating glitter, sequins, or small toys for added visual appeal.
- Store slime properly: Preserve the freshness of your slime by storing it in an airtight container to prevent drying out.
- Clean up spills promptly: Act quickly to clean up any slime spills using warm soapy water for surfaces or employing specific techniques for fabric.
- Choose the right container: Opt for an airtight container or resealable bag for slime storage to maintain its texture and prevent air exposure.
- Label and date your slime: Keep track of slime batches by labeling containers with the date of creation to know when it’s time to make a fresh batch.
- Store slime in a cool, dry place: Avoid direct sunlight and extreme temperatures, opting for a cool, dry area like a cupboard or shelf.
- Avoid storing different slime types together: Store different slime recipes separately to maintain their individual properties and prevent cross-contamination.
- Scrape off excess slime gently: Use a plastic spatula or your fingers to remove excess slime from hard surfaces without damaging them.
- Clean hard surfaces with mild soapy water: Wipe the surface with a damp cloth or sponge and mild soapy water, then rinse and dry thoroughly.
- Remove slime from carpet or fabric with rubbing alcohol or vinegar: Apply rubbing alcohol or vinegar to the affected area, blot with a clean cloth, rinse, and dry.
- Deal with slime in hair using conditioner or oil: Apply conditioner or oil to the affected area, gently comb through the hair, and work from the ends upward to remove the slime.
Remember these tips and tricks to ensure a successful and enjoyable slime-making experience!
Storing and Preserving Slime
Slime is a fantastic sensory play material that can provide hours of fun. To ensure its longevity, follow these storage and preservation tips:
- Choose the right container: Opt for an airtight container or resealable bag to store your slime.
- Label and date your slime: Keep track of its freshness by labeling containers with the creation date.
- Store slime in a cool, dry place: Avoid direct sunlight and extreme temperatures to maintain its texture.
- Avoid storing different slime types together: Prevent cross-contamination by storing different slime recipes separately.
- Prevent air exposure: Airtight containers help prevent drying and hardening of slime.
- Keep away from heat and cold: Store slime in a cool area to prevent melting or texture changes.
- Regularly check for freshness: Monitor slime’s consistency and odor to determine if it needs to be replaced.
- Dispose of old or spoiled slime: If slime becomes moldy, dried out, or develops an unpleasant odor, it’s time to make a fresh batch.
- Clean and dry hands before handling slime: Avoid introducing dirt or oils that can affect slime’s longevity.
- Follow individual recipe instructions: Some slime recipes may have specific storage recommendations, so be sure to follow them for optimal results.
By following these tips, you can extend the life of your slime and continue enjoying its sensory play for longer periods.
Cleaning Up and Removing Slime
As much as we love slime, cleaning up can sometimes be a challenge. Here’s how to remove slime from different surfaces:
Cleaning Up and Removing Slime
- Hard surfaces (e.g., tables, countertops):
- Gently scrape off excess slime using a plastic spatula or your fingers.
- Wipe the surface with a damp cloth or sponge and mild soapy water.
- Rinse the surface and dry thoroughly.
- Carpet or fabric:
- Remove any excess slime by gently scraping or lifting it off.
- Apply a small amount of rubbing alcohol or vinegar to the affected area.
- Blot the slime with a clean cloth, continuing until it’s completely lifted.
- Rinse the area with water and blot dry.
- Hair:
- Apply a generous amount of conditioner or oil to the affected area.
- Gently comb through the hair, starting from the ends and working your way up.
- The slime should loosen and come off more easily.
Remember to handle slime and clean it up in a safe and responsible manner.
Conclusion
In conclusion, the ultimate guide to making slime with a glue stick without borax offers safe and exciting recipes for kids. With alternative ingredients and provided tips, you can create vibrant, stretchy, and squishy slime. Whether it’s the classic glue and liquid starch slime or the fluffy slime with shaving cream, each recipe provides a unique sensory experience.
Proper storage and cleaning techniques ensure longevity and easy maintenance. Unleash your creativity, bond with loved ones, and embark on a slime-making adventure with safety and fun in mind. Let the squishy, stretchy, and colorful joy of slime fill your days! So enjoy making slime with glue stick without borax.