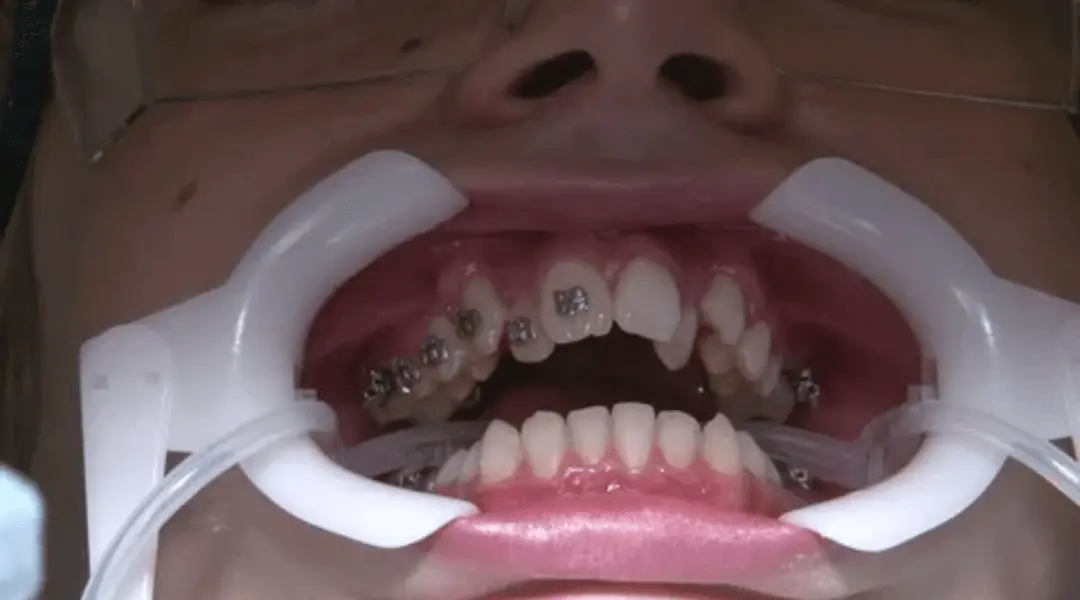
Wearing braces is one of the most effective ways to straighten your teeth and achieve a perfect smile. However, when it comes to removing the braces, the process can be daunting, especially when trying to remove the glue left behind. While it’s always best to have a professional handle this task, you can also take care of it at home. In this blog post, we’ll show you how to take braces glue off at home using simple and easy-to-follow steps.
Let’s dive into this peculiar topic and uncover the taste, health risks, and even unique uses of glue beyond its intended purpose.
Before we dive into the details, it’s important to note that removing braces glue at home can be risky, especially if you don’t have the right tools or knowledge. If you feel unsure or uncomfortable, it’s best to contact your orthodontist and schedule an appointment. Now let’s get started!
Gather Your Supplies
The first step in removing braces glue at home is to gather all the necessary supplies. These include:
- Cotton swabs or balls
- Rubbing alcohol
- Orthodontic wax
- Floss
- Toothbrush
It’s important to ensure that you have all these items before starting the process. You can get them at a local drug store or order them online.
Once you have all the supplies, it’s time to move on to the next step.
Remove the Braces
- Locate the brackets on your teeth that are holding the wires in place.
- Use a pair of pliers to gently squeeze and loosen the brackets, being careful not to damage them.
- Once the brackets are loose, use your fingers to remove them from your teeth.
Once you’ve removed the braces, it’s time to move on to the next step.
Remove the Glue
- Use a toothbrush to remove any large chunks of glue from your teeth.
- Use a piece of floss to gently scrape the remaining glue off your teeth.
- Be gentle while scraping to avoid damaging your teeth or gums.
- Use a cotton swab or ball dipped in rubbing alcohol to remove any remaining residue.
- Rubbing alcohol helps dissolve the glue, making it easier to remove.
- Rinse your mouth with water after using rubbing alcohol.
- Apply orthodontic wax around the area to protect your gums and reduce any pain or discomfort.
Conclusion
Removing braces glue at home requires patience, precision, and the right tools. While it’s always best to have a professional handle this task, you can also do it at home if you follow the right steps. Remember to gather all the necessary supplies, remove the braces carefully, and use gentle techniques to remove the glue. If you encounter any issues, be sure to contact your orthodontist for help. And most importantly, be patient and take your time to avoid any damage to your teeth or gums.