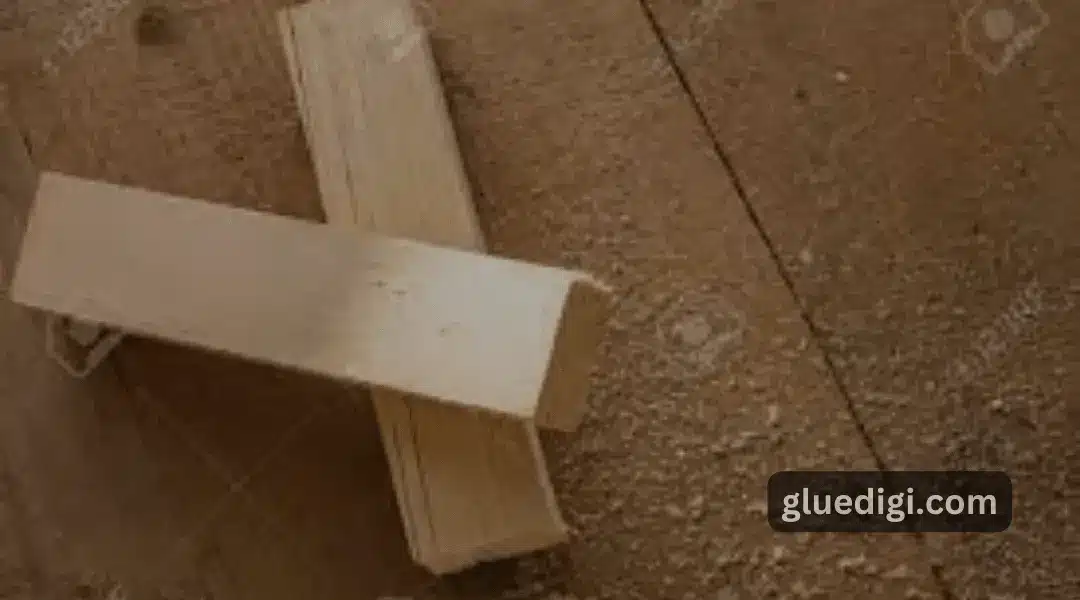
Woodworking projects often require the joining of two pieces of wood side by side, and while glue is the most common method used to bond them together, it’s not always the best option. Sometimes, the use of glue can be messy, time-consuming, or simply unnecessary.
Let’s dive into this peculiar topic and uncover the taste, health risks, and even unique uses of glue beyond its intended purpose.
In this article, we’ll explore various techniques for joining two pieces of wood without glue.
Why Joining Two Pieces of Wood Without Glue is Useful?
Joining two pieces of wood without glue can be useful for several reasons:
- Avoiding the mess and time required to apply and dry glue.
- Allowing for disassembly and repair in the future.
- Creating a stronger joint with certain techniques.
- Providing a different look and style to your woodworking projects.
Advantages and Disadvantages of Not Using Glue
Before we delve into the techniques for joining two pieces of wood without glue, let’s take a moment to consider the advantages and disadvantages of not using glue.
Advantages:
- Quick and easy to assemble.
- Strong and durable when done correctly.
- No drying time required.
Disadvantages:
- May require specialized tools and skills.
- The joint may not be as tight or precise as it would be with glue.
- There may be some movement in the joint over time.
Methods of Joining Two Pieces of Wood without Glue
There are many different techniques for joining two pieces of wood without glue. Here are ten of the most common:
Butt Joint
The butt joint is the simplest joint to create, and it involves joining two pieces of wood by butting them together. This joint is best used for non-structural applications, such as picture frames or other decorative pieces.
Tongue and Groove Joint
The tongue and groove joint involves cutting a groove (slot) in one piece of wood and a tongue (protruding piece) in the other. The tongue then fits snugly into the groove, creating a strong joint that resists movement.
Dovetail Joint
The dovetail joint is a classic woodworking joint that involves cutting interlocking “teeth” into the wood. This joint is known for its strength and durability, making it ideal for furniture and cabinetry.
Mortise and Tenon Joint
The mortise and tenon joint involves creating a rectangular hole (mortise) in one piece of wood and a matching protrusion (tenon) on the other. The tenon fits snugly into the mortise, creating a strong and stable joint.
Biscuit Joint
The biscuit joint involves cutting a small slot in each piece of wood and inserting a thin, oval-shaped piece of wood (called a biscuit) that has been covered in glue. When the pieces are clamped together, the glue dries and creates a strong joint.
Dowel Joint
The dowel joint involves drilling a hole in each piece of wood and inserting a wooden dowel into each hole. The dowels are then glued into place and the two pieces of wood are clamped together until the glue dries.
Pocket Hole Joint
The pocket hole joint involves drilling an angled hole into one piece of wood and then screwing it to another piece of wood. This technique is fast and easy to execute and can be used in a variety of applications.
Cam Lock Joint
The cam lock joint involves creating a set of interlocking teeth on each piece of wood that fit together when the pieces are joined. The teeth are held in place with a small metal cam that locks them into place.
Wedged Through Tenon Joint
The wedged through tenon joint is a variation of the mortise and tenon joint that involves driving a wedge through the tenon after it has been inserted into the mortise. This creates a strong and secure joint that resists movement.
Splined Joint
The splined joint involves cutting a groove into each piece of wood and then inserting a thin piece of wood (called a spline) into the grooves. The spline is then glued into place, creating a strong and attractive joint.
Choosing the Right Joint for Your Project
When choosing a joint for your project, there are several factors to consider, including:
Considerations for Choosing a Joint
- The strength and durability required for the application.
- The appearance and style you want to achieve.
- The tools and skills you have available.
Strength and Durability of Different Joints
- The dovetail joint is one of the strongest and most durable joints available.
- The mortise and tenon joint is also very strong and durable.
- The tongue and groove joint is strong and resists movement.
Appearance and Style of Different Joints
- The butt joint is the simplest joint and may not be suitable for certain applications.
- The dovetail joint and splined joint are very attractive and can add a decorative element to your project.
- The pocket hole joint and cam lock joint are fast and easy to execute but may not be as visually appealing as other joints.
Tools and Materials Needed
The tools and materials needed for joining two pieces of wood without glue will depend on the joint you choose. Here are some of the most common tools and materials required:
List of Tools Needed for Different Joints
- Saw
- Chisel
- Router
- Drill
- Clamps
Types of Wood Suitable for Different Joints
- Softwoods such as pine and cedar are suitable for most joints.
- Hardwoods such as oak and cherry are more durable and may be necessary for certain joints.
Other Materials Required
- Wooden dowels or biscuits
- Metal cams or screws
- Wooden splines or wedges
Preparation and Cutting of Wood
Before you can join two pieces of wood together, you need to prepare them for the joint. Here are some tips for preparing and cutting wood for different joints:
Preparing Wood for Joinery
- Ensure that the wood is flat and square.
- Sand the wood to remove any roughness.
Accurate Measurements and Markings
- Use a ruler or square to measure and mark the wood accurately.
- Double-check your measurements before cutting.
Cutting Techniques for Different Joints
- Use a saw or router to cut the joint.
- Use a chisel to clean up the joint and ensure a tight fit.
Steps to Join Two Pieces of Wood Without Glue
Once you have prepared the wood and chosen your joint, you can begin the process of joining the two pieces of wood together. Here are some step-by-step instructions for some of the most common joints:
Butt Joint
- Cut the two pieces of wood to the same length.
- Butt them together and clamp them in place.
Tongue and Groove Joint
- Cut a groove in one piece of wood and a tongue in the other.
- Fit the tongue into the groove and clamp the pieces in place.
Dovetail Joint
- Cut the dovetail “teeth” into one piece of wood.
- Fit the teeth into the matching slots on the other piece of wood and clamp in place.
Mortise and Tenon Joint
- Cut a mortise into one piece of wood and a matching tenon on the other.
- Fit the tenon into the mortise and clamp the pieces in place.
Biscuit Joint
- Cut a slot into each piece of wood.
- Apply glue to a wooden biscuit and insert it into one of the slots.
- Fit the two pieces of wood together and clamp them until the glue dries.
Dowel Joint
- Drill a hole into each piece of wood.
- Apply glue to wooden dowels and insert them into the holes.
- Fit the two pieces of wood together and clamp them until the glue dries.
Pocket Hole Joint
- Drill an angled hole into one piece of wood.
- Screw the angled piece of wood to the other piece of wood.
- Clamp the pieces together until the joint is secure.
Cam Lock Joint
- Cut a set of interlocking teeth into each piece of wood.
- Insert a small metal cam into the teeth to lock them into place.
Wedged Through Tenon Joint
- Cut a mortise into one piece of wood and a tenon on the other.
- Insert the tenon into the mortise and drive a wedge through the tenon.
- Clamp the pieces in place until the joint is secure.
Splined Joint
- Cut a groove into each piece of wood.
- Insert a thin wooden spline into the grooves and glue it into place.
- Clamp the pieces in place until the glue dries.
Finishing Techniques
Once the joint is complete, you can finish the project with sanding, staining, and sealing. Here are some tips for finishing your joint:
Sanding and Smoothing the Joint
- Use sandpaper to smooth any rough edges or surfaces.
Applying Stain or Paint
- Apply stain or paint to the wood as desired.
- Use a brush or rag to apply the stain or paint evenly.
Protecting the Joint with a Finish
- Apply a finish such as polyurethane to protect the wood from scratches and wear.
- Use a brush or rag to apply the finish and allow it to dry completely.
Conclusion
Joining two pieces of wood without glue can be a useful technique for many woodworking projects. Whether you’re looking for a quick and easy joint or a strong and durable one, there are many different methods to choose from. Consider the strength, durability, appearance, and tools required when choosing a joint for your project. Remember to prepare your wood accurately and finish your joint with sanding, staining, and sealing for a professional look. With the right joint and some basic skills, you can create beautiful and functional woodworking projects that will last for years to come.